


Contour bunds are useful to protect fields against erosion. They help to reach higher yields. So farmers can make more money.
On sloping land, a lot of the rain gets lost down the slope and washes away the fertilized top of the soil. The running down water carries fine earth particle that seal the surface. When the soil is compacted, the next rain will ensure, that the soil surface runs down even faster and just a little water infiltrates into the soil.
Contour bunds
Contour bunds are permanent ridges made out of earth. They run along gentle slopes and make sure, that the water runs down slowly. Therefore, the water can sink into the soil. You can start planting crops directly after the first rain, then the seeds are germinating well and the seedlings suffer less from dry phases.
How to install contour bunds
Start at the top of the field. Make the first bund 25 metres under the top. On gentle slopes you can make the bunds 50 metres apart, on steeper slopes you need to make the bunds closer together.
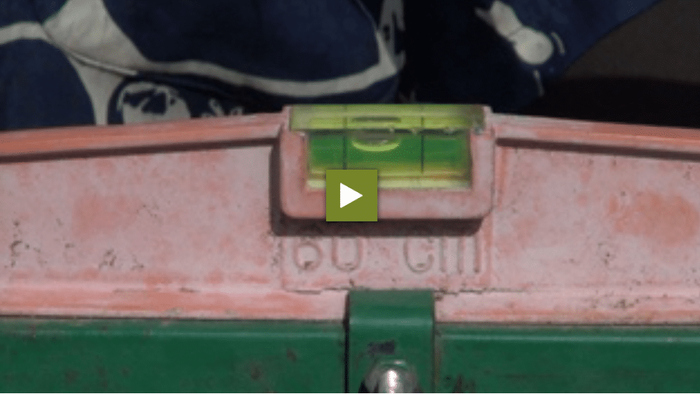
Hold one leg of the A-frame solidly in position. Then, swing the other leg around the frame until the frame has the perfect level. Hammer it on a suspension. After that swing the other leg of the A-frame. Replay the process until you attach the first contour line. Smooth the sharp edges to make ploughing easier.
On clay soil, plough two times on both sides of the contour line. To make the bund, you can throw the ploughed soil to the outer lines on top of the inner lines. On sandy bunds, plough at least three rounds along the contour lines. To compress sandy bunds, they have to be compacted, because then they can be sufficiently strong.
Let the rills on both sides of the field open, so that excess water can drain out. You can strengthen the bunds with stones or grass.